Run MQTT Viewer in Docker
Open MQTT Viewer in your browser, connect to a broker and keep your saved connections across container restarts.
Before you start
Install Docker and have a test MQTT broker available. These captures use a local prerelease image built from the integrated app revision recorded with the screenshots. Use a published release image for your own installation.
1. Start the container
Run this command in a terminal:
docker run -d --name mqtt-viewer \
  -p 127.0.0.1:8080:8080 \
  -v mqtt-viewer-data:/data \
  ghcr.io/mqtt-viewer/mqtt-viewer:latest
Open http://localhost:8080. The port is available only on this computer. MQTT Viewer has no built-in login, so keep that loopback address unless you have configured an authenticating reverse proxy.
2. Connect to a broker
Create a connection with your broker's host, port and credentials. From inside a container, localhost means that container. For another container on the same Docker network, use its service name or network alias. This example uses walkthrough-broker, port 1883.
Add walkthrough/# to Subscriptions and connect.
3. Check a message
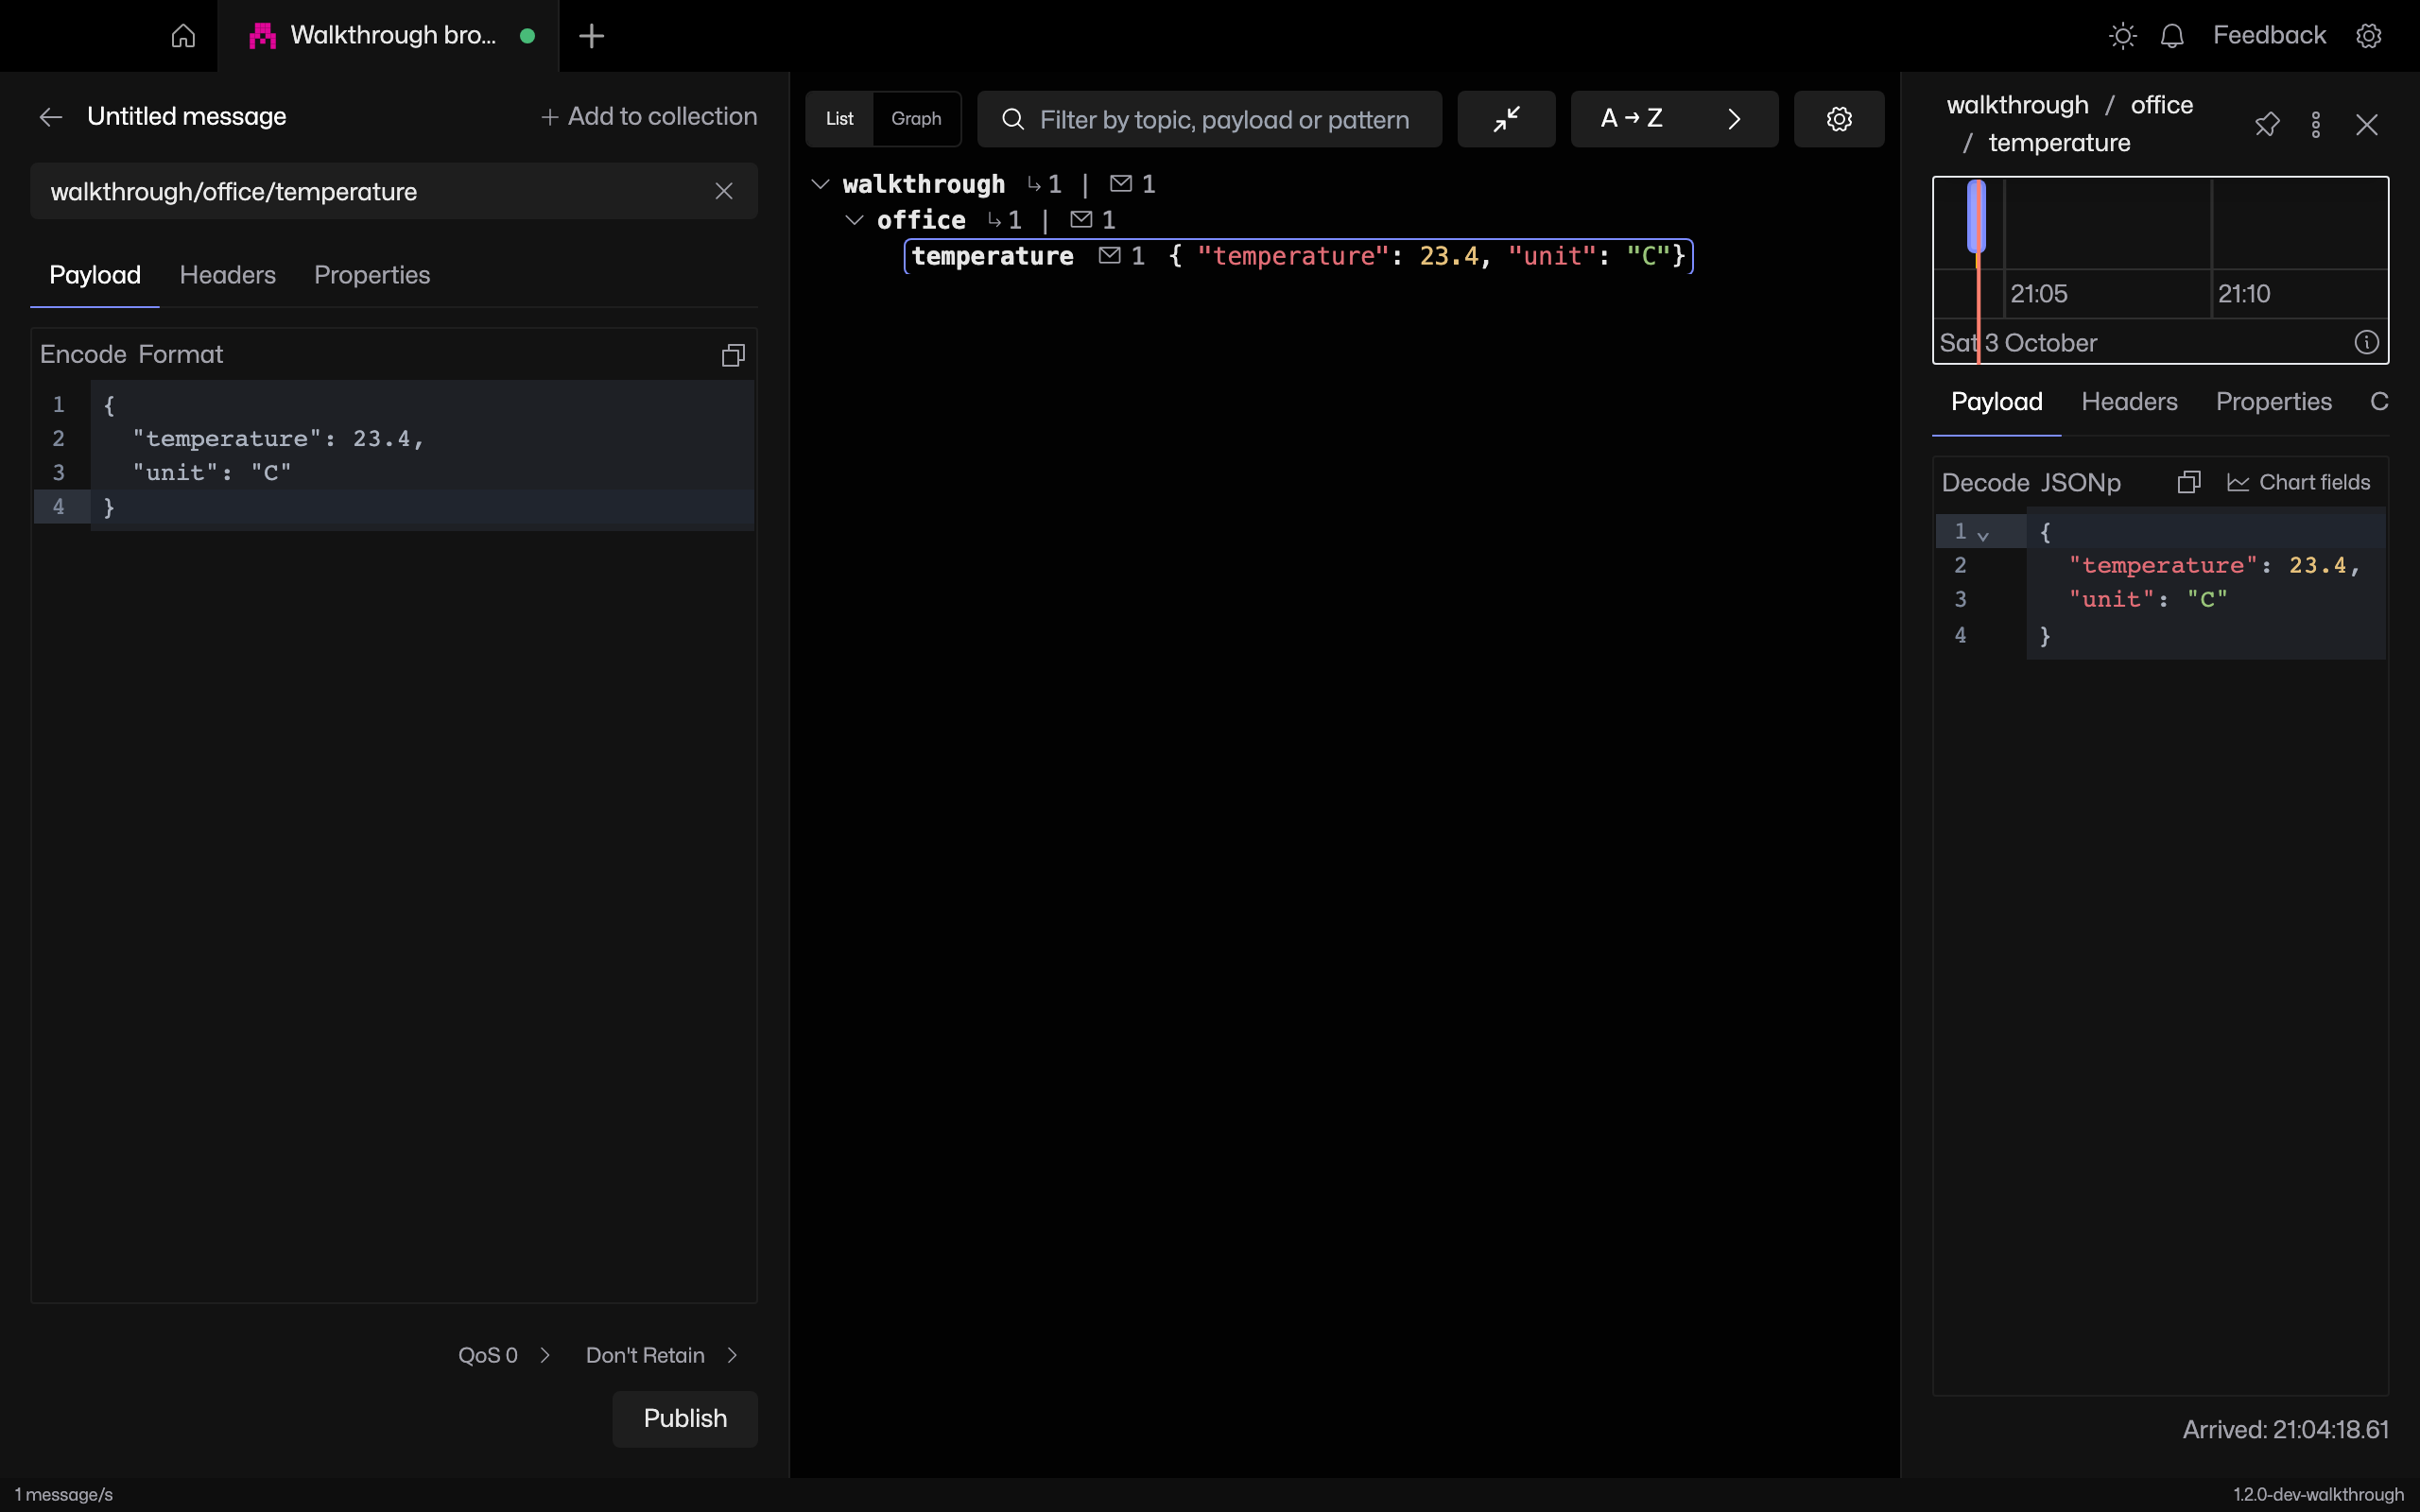
Click New message, enter walkthrough/office/temperature and the payload below, then click Publish.
{"temperature":23.4,"unit":"C"}Expand the topic tree and select temperature. The selected topic should show the received reading.
4. Keep your data across restarts
Close the MQTT Viewer browser tab, restart the container, then open the page again:
docker restart mqtt-viewerThe saved connection and the sent message in History should still be present. The named volume holds the app's data under /data. Reuse that volume when replacing the container for an update.
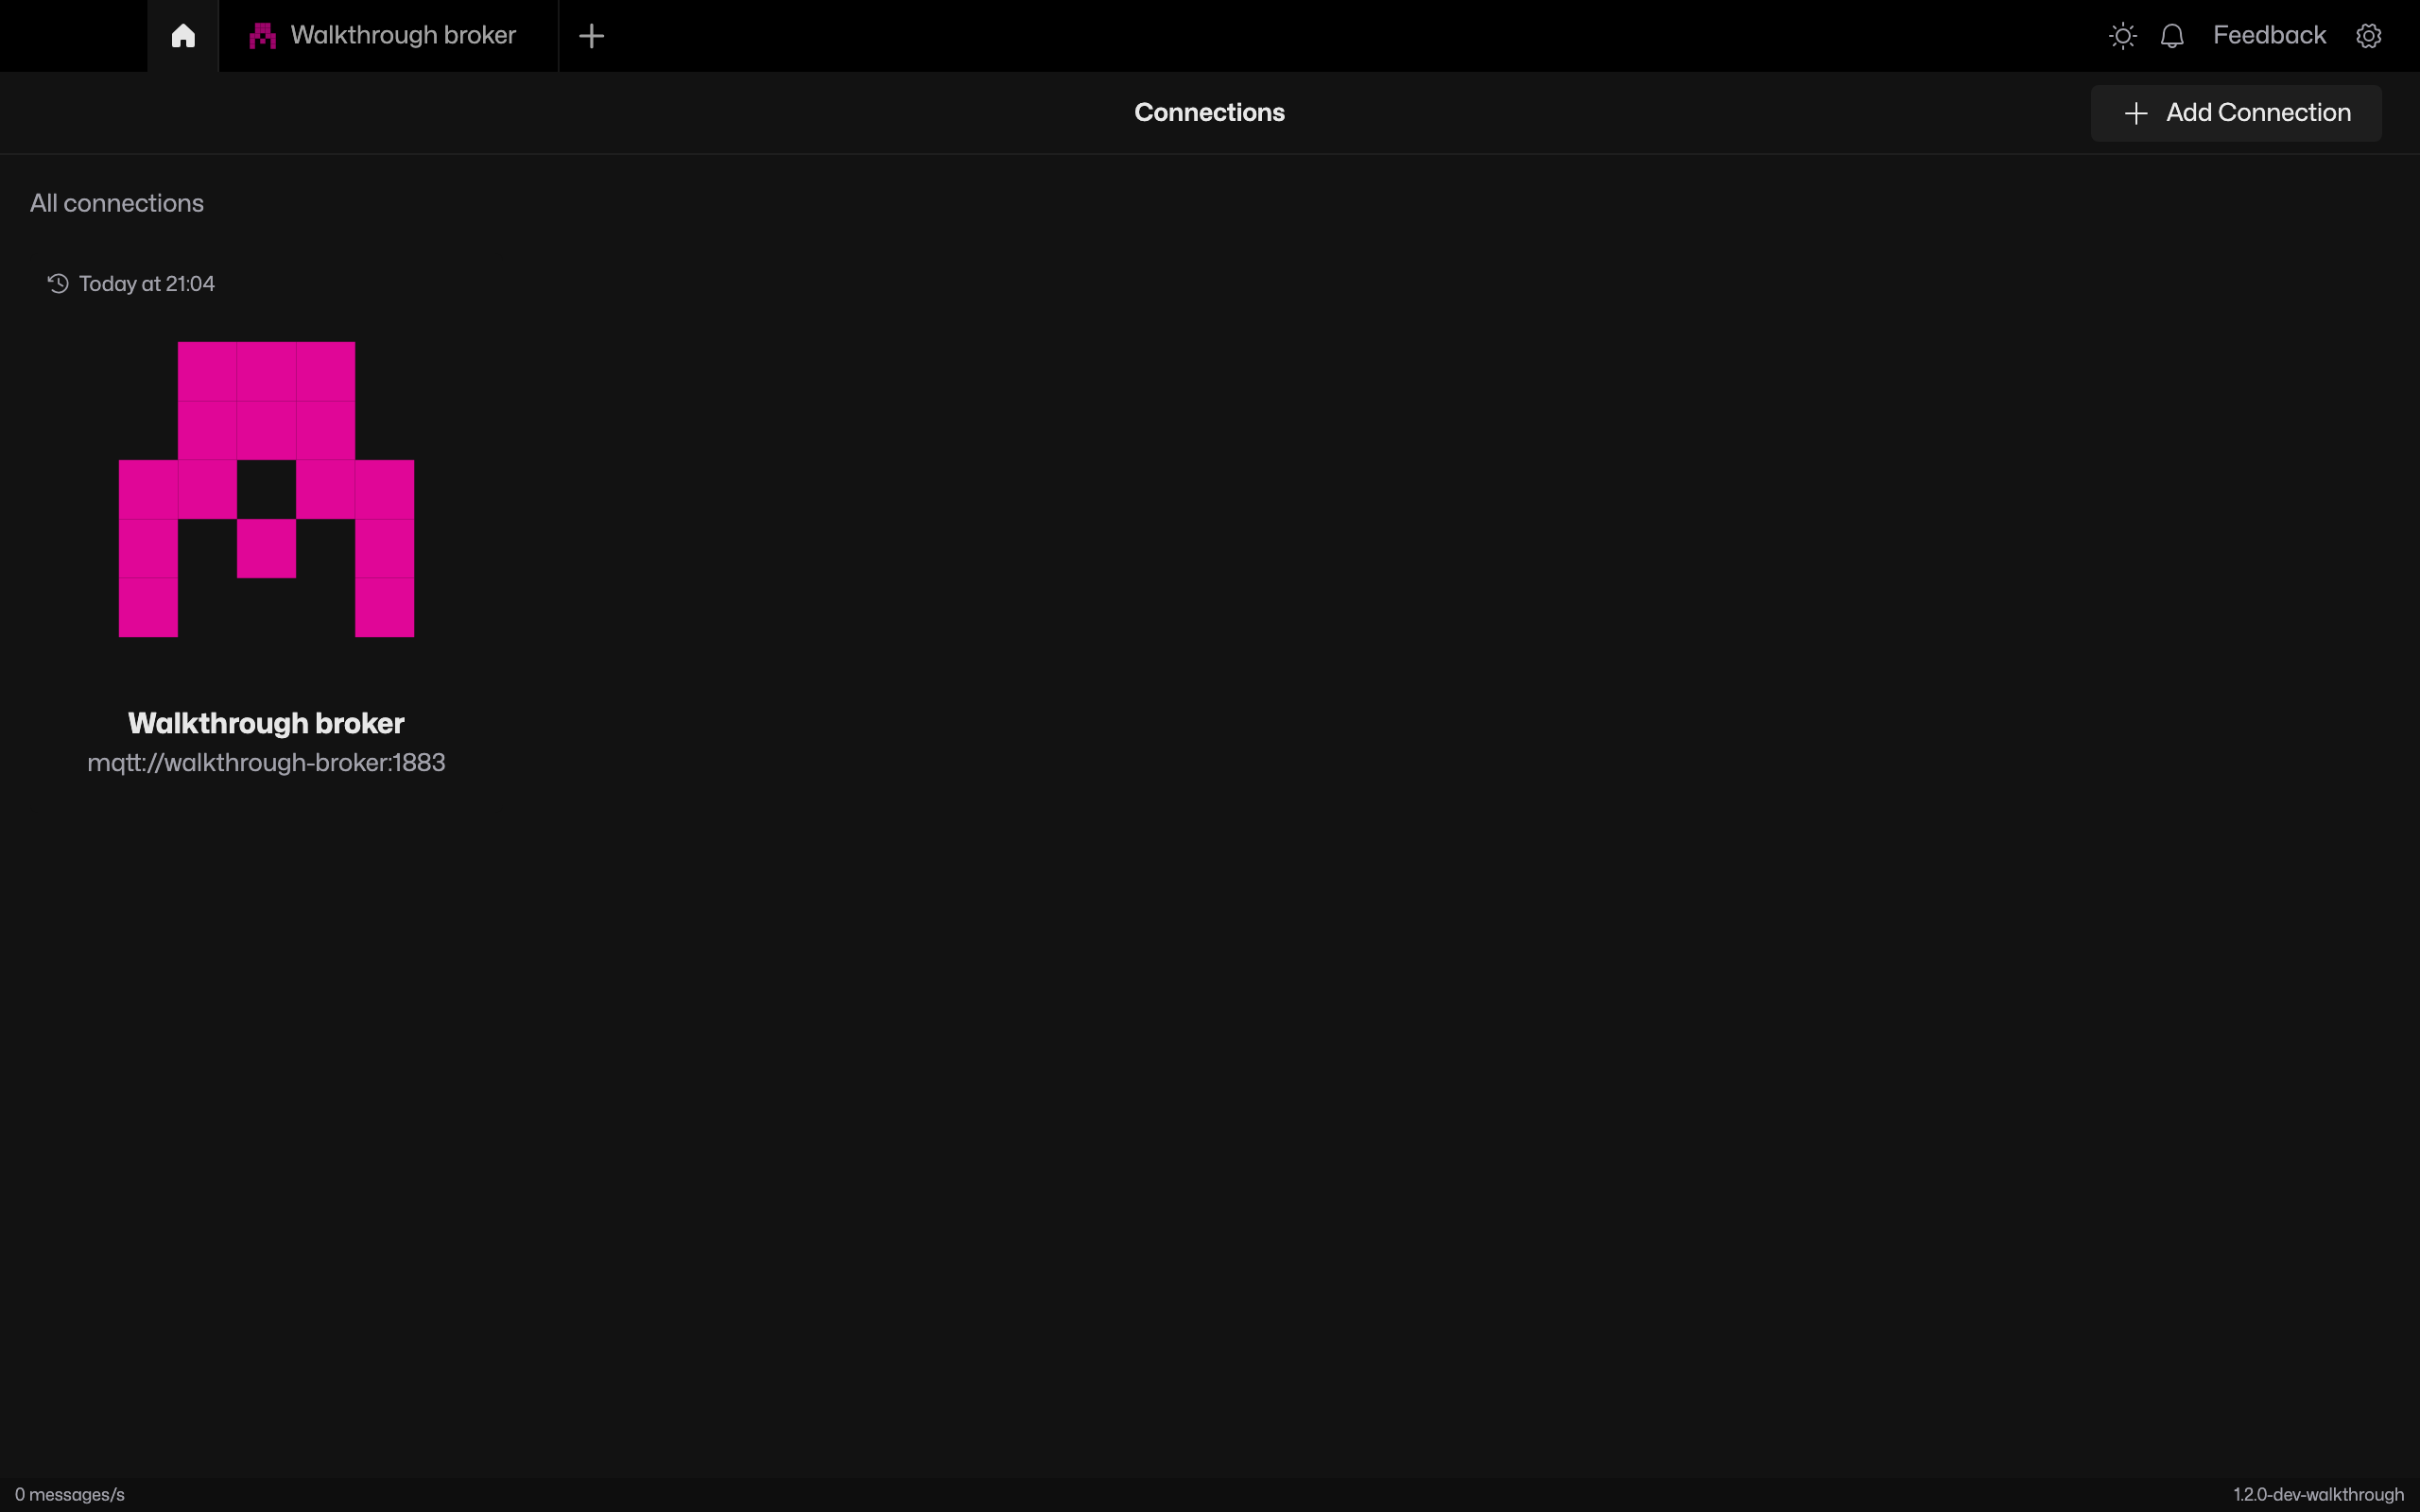
Your saved connection and sent messages remain available after restart.
If the broker will not connect
Check the hostname is reachable from the container and the broker allows the connection. A broker bound only to your host's loopback interface is not reachable through a Docker network alias. See the Docker configuration guide for networking and reverse-proxy details.